Cable Branch Box Buying Guide | Branches, Cable Entry and Enclosure
1. Count the branches and confirm the cable schedule
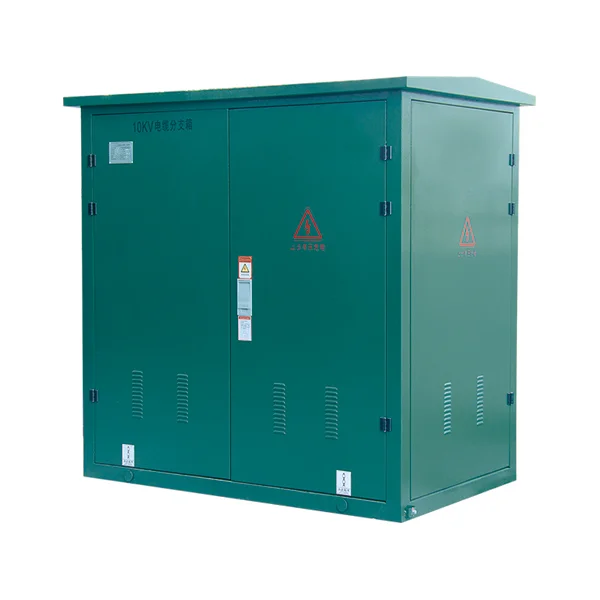
Start with the single-line diagram: how many incoming and outgoing cables, their conductor size and type, and whether the box is a tee, a three-way or a four-way branch. Cable size drives the terminal and connector selection, and it also drives the bending radius and therefore the enclosure depth. Confirm whether the box carries the full ring current or only a spur load.
2. Choose switch, link or plain busbar arrangement
A plain busbar branch box only splits the cable. A switched version adds load break switches so a branch can be isolated without disturbing the ring. Where the box feeds a transformer, a fused or breaker branch may be needed. State the operating and fault current, the earthing switch requirement and whether key interlocking is required.
3. Select the enclosure material and IP rating
| Enclosure | Advantages | Best for |
|---|---|---|
| Stainless steel | High corrosion resistance, strong, long service life | Coastal, humid and industrial sites |
| GRP | Light, non-conductive, no rust, easy to lift | Pole and pad mounting in corrosive areas |
| Galvanized steel | Lowest cost, adequate indoors or in dry climates | Sheltered and inland installations |
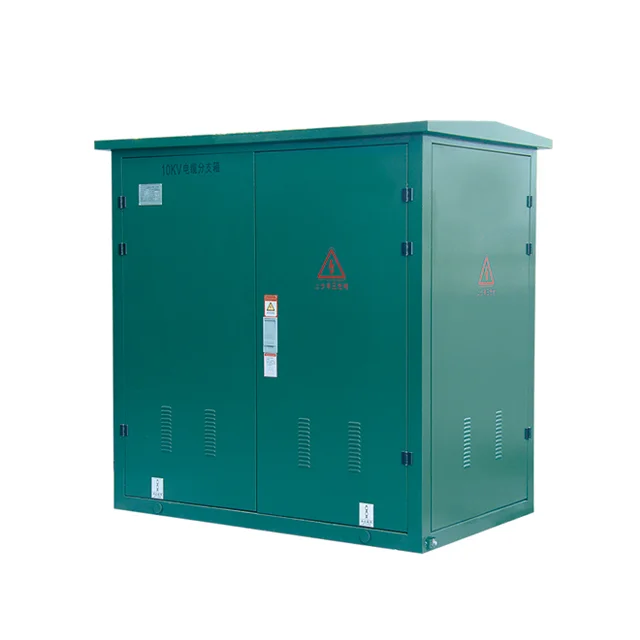
IP33 suits a ventilated outdoor box; IP54 or IP65 is needed where driving rain, dust or washdown occurs. Check the anti-condensation and ventilation arrangement, because a fully sealed box still needs a way to manage moisture.
4. Plan cable entry, bending radius and earthing
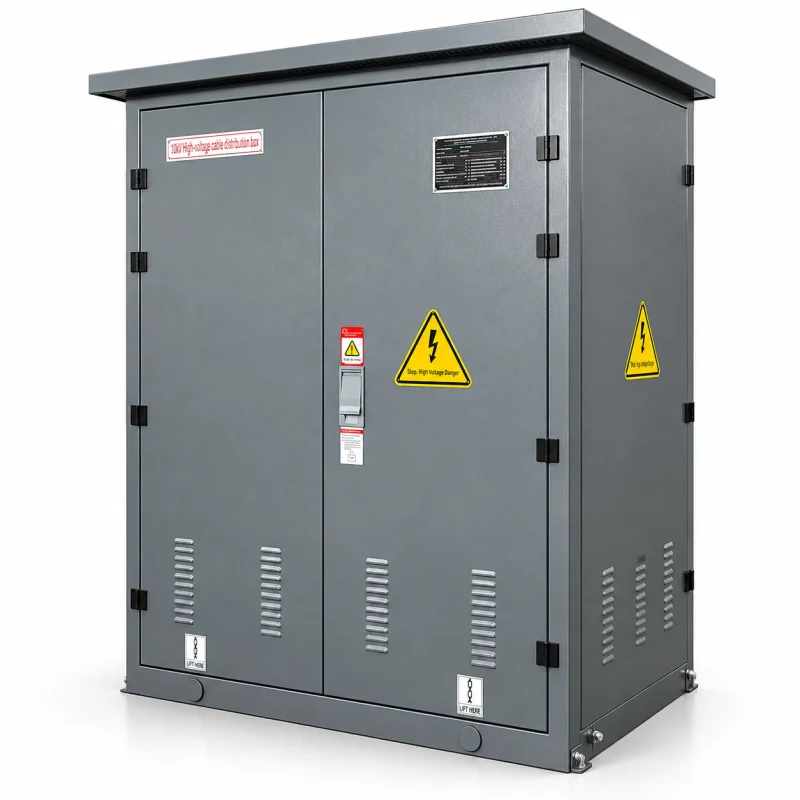
Confirm whether cables enter from the bottom or the side, the number and size of glands, and the minimum bending radius of the cable. A box that is too shallow forces a tight bend and damages the insulation. Earthing must be sized for the fault current, with a visible earthing terminal and a connection point for the cable screen.
5. Confirm tests, nameplate and drawings
Routine tests cover the main circuit resistance, insulation and the operation of switches or links. The nameplate should show the rated voltage, current, number of branches and the earthing switch rating. Ask for the arrangement drawing and the terminal schedule so the site team can match cables to positions without guesswork.
6. RFQ checklist
- System voltage, rated current and fault level
- Number of branches and cable sizes
- Plain busbar, load break switch or fused branch
- Enclosure material and IP rating
- Cable entry direction, glands and bending space
- Earthing and interlock requirements
- Quantity, destination and delivery date
Send the cable schedule with the RFQ and the drawing can be issued without a second round of questions.